There’s nothing like the smell of bread baking in the oven. It’s the promise of a sandwich support system, a vehicle for avocado, and a toastable breakfast.
For years, I’ve been on a near-weekly bread baking schedule. But if you’d told me a decade ago that I’d be baking all of the bread for my household, I would have thought you were deeply mistaken.
I’ve always enjoyed cooking and baking, but yeast terrified me. It seemed like the kind of witchcraft that could go horribly awry if practiced by an inexperienced novice.
Breaking hearts.
Ruining lives.
Then, one day, I reached a point in my life where I wasn’t so worried about breaking hearts anymore. And believe me when I tell you that some of my early bread experiments were truly devastating. (Ah, the great pumpernickel failure of 2014! You could have used those dense little lumps to anchor a medium-sized sailing vessel.)
Among the failures, though, there were early successes. If you want to bake bread, but you’re too intimidated to try it, I’m here today to tell you that it is worth it to risk shame, failure, and disappointment. Because there is nothing like knowing that you can mix flour, water, salt, and yeast, and turn them into bread. It’s magic.

About this bread
They say that baking is all about precision, and that’s…kind of true. But when you achieve a level of comfort around the yeast, the flour, and the oven, there’s actually a lot of room to play.
Personally, I like to experiment with different types of flour. Rye, buckwheat, spelt, teff, amaranth…I like to add them into an old-standby recipe and see what happens. Sometimes, what happens is this exact bread.
Regular old bread flour is the foundation here, and its high protein percentage provides the bread’s structure and bounce. This is important because the teff flour has no gluten, while the rye has less gluten than wheat flour does. Meanwhile, the rye and teff work together to offer a nutty, hearty flavor and aroma.
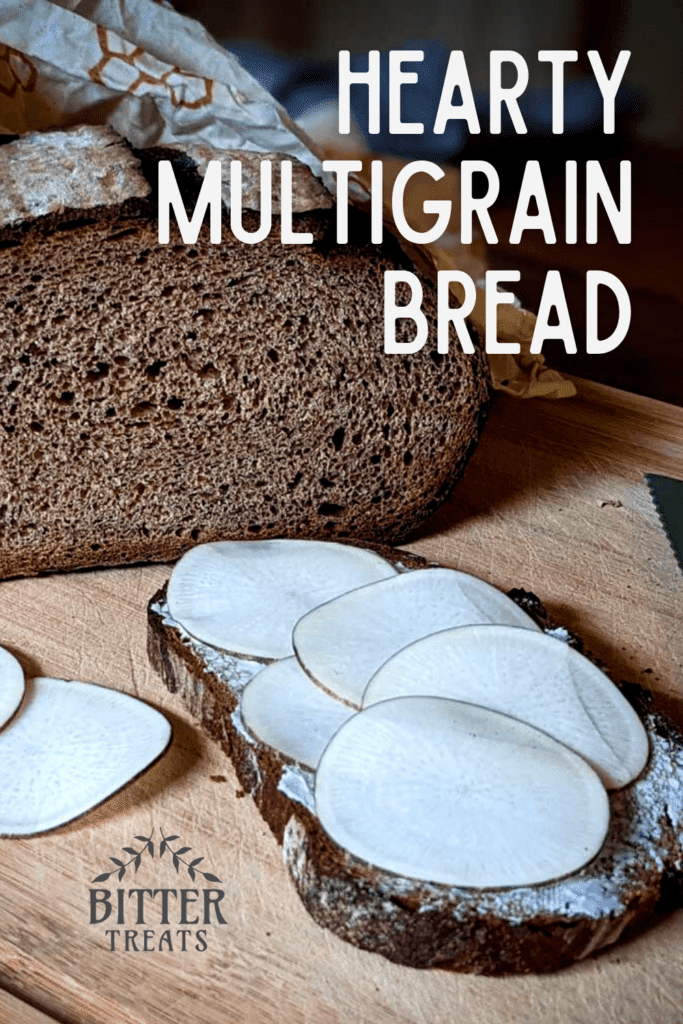
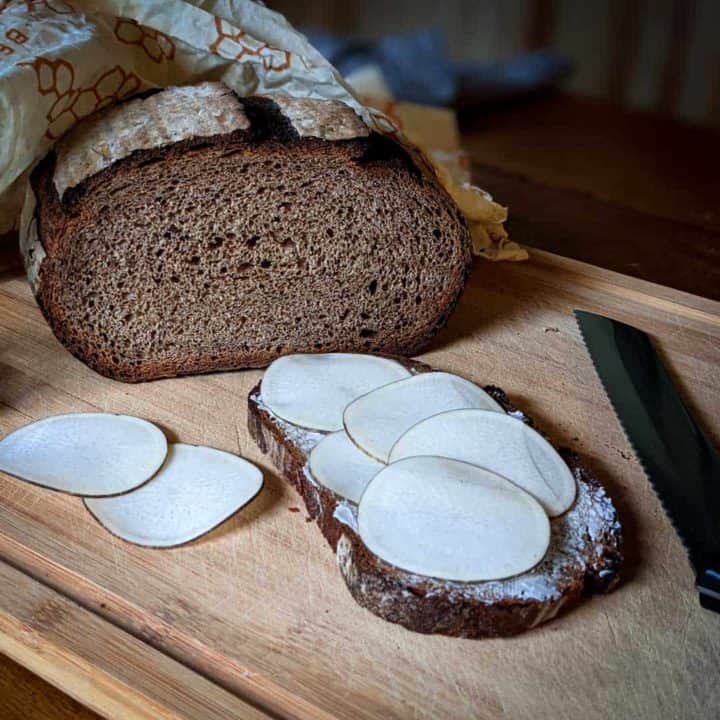
The result is a crusty bread with a sturdy, tight crumb (i.e., it doesn’t have a bunch of big open holes) that is perfect for loading up with sandwich fillings. You can also cut it into thin slices and enjoy with vegan butter, hummus, or the toppings of your choice. Dip it into soups and stews, or toast it to make robustly tasty croutons.
My tips for bread-baking success
These are a few bits of hard-earned wisdom that I have acquired in the course of my bread adventures. Please use these tips — don’t make the same mistakes that I have made.
Use a digital scale to measure your flour
Unless you already have a solid sense of how your dough is supposed to feel, this is the most important thing you can do to achieve consistently good results in your baking.
That’s because, when it comes to flour, measuring by volume is wildly inaccurate. Flour can be compressed a great deal, so the weight of a cup of flour that I measure may vary greatly from the weight of a cup of flour that you measure.
And this can be a big deal when you’re using a recipe, like this one, which makes a large loaf (or two smaller loaves) of bread. If you measure multiple cups of flour which are overpacked, that overage adds up and results in a dough that is far too dry.

Let the dough rise in a vessel that makes it easy to measure volume
Bread recipes almost always instruct the reader to let the dough rise until it doubles in volume. But when it’s rising in a mixing bowl, it can be challenging to gauge exactly what “doubling” looks like.
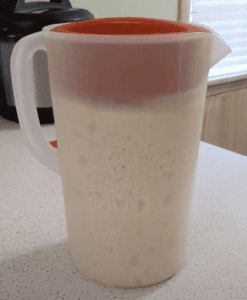
That’s why I use a big, cheap, plastic pitcher — the kind you’d use to mix up liters of Kool-Aid for a child’s birthday party.
It has plenty of room for the dough to rise, and its cylindrical shape makes it easy to visually measure the dough’s volume. The pitcher that I use has measurements on its side, and that’s usually enough for me to use as a reference. But I’ve also used chalk, masking tape, or large plastic bands to mark the dough’s original level and keep track of how much it has risen.
Use a covered baking vessel with plenty of headroom
One of the main reasons that home bakers have trouble achieving beautiful, artisan-style bread: professional ovens allow bakers to inject steam during baking. And for this type of bread, steam is essential if you want to get the best possible results.
Baking in a steamy environment allows the crust to develop more slowly, which has two main benefits. First, because the crust remains softer for a greater portion of the baking time, the bread is able to rise more in the oven. This creates a lighter, bigger, fluffier loaf. The second benefit is that steam improves the texture of the crust.
It seems so simple, but it can be tricky to achieve the right level of humidity in a typical home’s oven. Some folks toss ice cubes into a hot oven, or use a shallow pan filled with hot water to steam up their ovens.
In my experience, baking in a pre-heated, covered vessel is the easiest way to get great results. My favorite is a clay bread baker that was designed specifically for this purpose. When I stopped baking on cookie sheets and started using a covered bread baker, my results improved dramatically.
But you don’t necessarily have to rush out to buy a fancy bread baker or cloche. A large, cast-iron dutch oven is perfect for baking a round, artisan-style loaf of bread. I’ve even used a deep, pyrex casserole dish when I was baking at my parents’ house and didn’t have access to my own supplies. Just make sure that whatever you use is oven-safe at high heat.
Things you will need
Note: This section contains affiliate links. I may earn a small commission if you follow the links and make a purchase. This doesn’t cost you anything, and it helps me continue running Bittertreats.
- A large mixing bowl
- Measuring cups and spoons
- Something to bake in (or on): this could be a baking sheet, a pizza stone, a dutch oven, or a clay bread baker
- A tea towel or plastic wrap
- A sharp knife or lame for scoring the bread
These items aren’t strictly necessary, but they’ll make your life easier and your bread more consistent:
- A digital food scale
- A stand mixer with a dough hook
- A food thermometer
- A proofing basket

Brown Bread with Rye and Teff
Crusty, fragrant, and satisfying: this everyday bread is sturdy enough for sandwiches and light enough for snacking.
Ingredients
- 400 g (3 ¼ cups) bread flour
- 150 g (1 ¼ cup) dark rye flour
- 100 g (½ cup) teff flour
- 20 g (scant ¼ cup) flaxseed meal
- 10 g (1 ¾ teaspoons) kosher salt
- 30 g (1 ⅓ tablespoons) blackstrap molasses
- 7 g (2 ¼ teaspoons) instant yeast
- 450 g (1 ¾ cups) water*
Instructions
- Combine all ingredients in a large mixing bowl, stirring just until the moisture is mostly incorporated.
- Knead in a stand mixer for 6 minutes, or by hand for about 12 minutes.
- Transfer dough into a large, lightly oiled bowl or container. Turn the dough ball once or twice so that it becomes covered with a very thin layer of oil.
- Cover and let rise for about an hour and a half, or until the dough doubles in size (this may take more or less time, depending on the ambient temperature in your kitchen).
- Turn the dough out onto a lightly floured countertop. Shape into a round or loaf shape, or divide into two pieces and shape to make smaller loaves.
- Let the dough proof for about 45 minutes. When it's ready, you'll be able to poke the loaf gently in the side, and the indentation will not immediately spring back.
- While the bread is proofing, preheat the oven to 475 F. If you are using a dutch oven, ceramic bread baker, or other heavy vessel, go ahead and place it - while empty - into the oven to preheat.
- When the dough has finished proofing, remove your baking vessel from the oven and carefully turn out the loaf into the base. Working quickly but carefully, use a sharp knife or lame to make a few slashes into the top of the loaf.
- Cover the bread and place it into the oven. For one loaf: bake for 30 minutes, then remove the cover and return it to the oven for another 20 minutes. For two loaves: bake for 20 minutes covered, then about 15 uncovered.
- The bread is done when it reaches an interior temperature of around 190 F, and you'll hear a hollow sound when you knock on the bottom of the loaf.
- Let the loaf cool completely before slicing. It will be best within the first day or two, and after that it will make excellent toast.
Notes
Use a scale for precise measurements. Measurements for cups and spoons are estimates only.
You may substitute other liquids for all or part of the water. I've used coffee, beer, or the liquid drained from homemade greek-style yogurt.
Nutrition Information
Yield 10 Serving Size 2 slicesAmount Per Serving Calories 249Total Fat 1.4gSaturated Fat .1gSodium 391mgCarbohydrates 49gFiber 5.3gSugar 3.1gProtein 9.2g
Iron 4mg, 22% **** The nutritional information provided here is only an estimate. Actual nutritional values may vary. ****


Leave a Reply