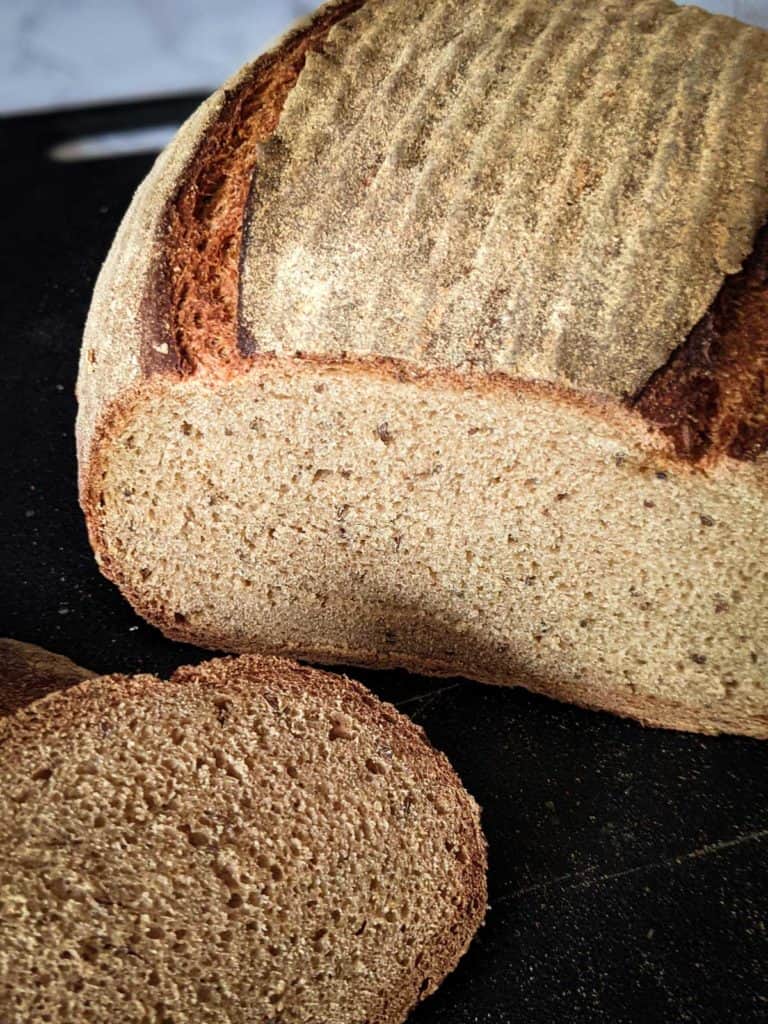
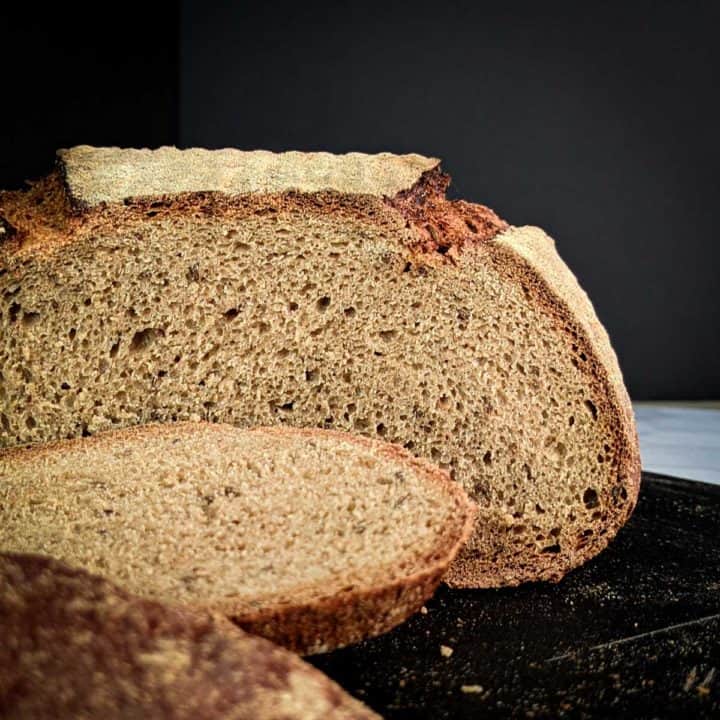
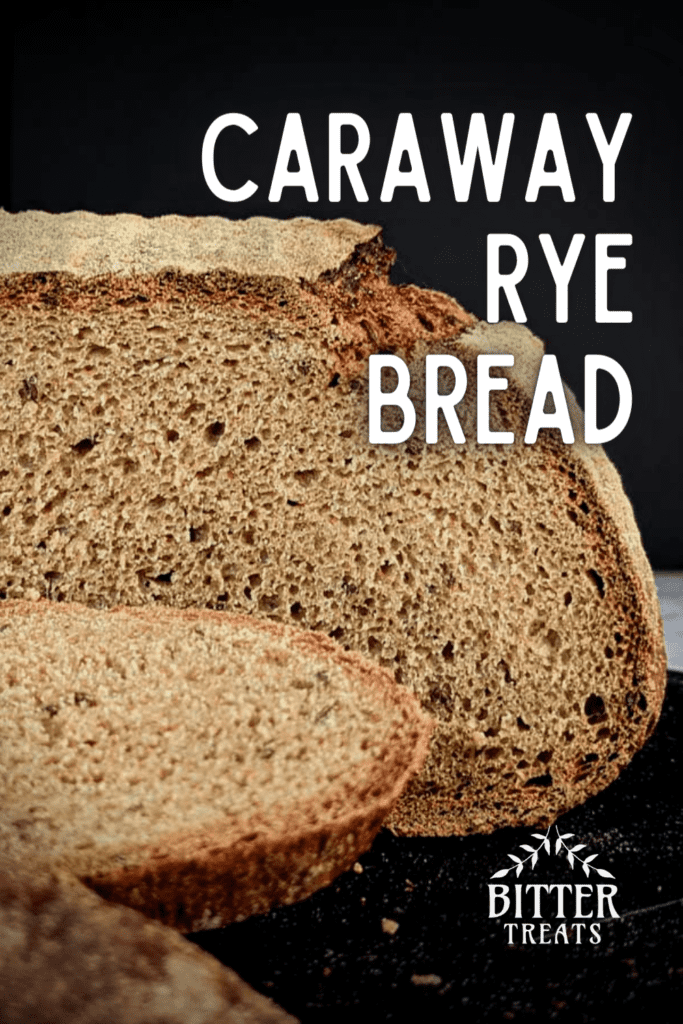
Aromatic caraway seeds and rustic rye flour join forces to make a hearty, nourishing caraway rye bread.
This recipe produces one large, sturdy loaf of bread that is a staple in my household. It’s suitable for slicing and using as the foundation for sandwiches, or for toasting and adorning with avocado, hummus, or fresh tomato slices.
It finds its way into breakfast, lunch, dinner, and snack time, and it never gets boring.
Read on for some of my essential tips for getting the best loaf of rye bread ever.

Jump to:
🍞 About this recipe
This basic style of bread, which contains both wheat and rye flours, goes by several different names:
- Caraway rye
- Deli rye
- Jewish rye
- Seeded rye
It evolved from European and Russian varieties of sourdough rye bread, with the increasing addition of wheat as it became more available and affordable in North America.
Bread made from rye flour alone is heavy and dense, while wheat flour yields a bouncier bread. The combination results in a lighter, consistent slice that forms a perfect foundation for a sandwich laden with deli slices.
Looking for more bread recipes? Try my Brown Bread with Teff, Savory Cornbread Muffins or my Vegan Challah!
🎛️ 3 Tips for perfect bread
This is one of many whole-grain bread recipes that I make on a regular basis, and I’ve found a few tricks for getting great results.
For example, using a scale to weigh your ingredients will give you much better and more consistent results than you will get using measuring cups. That’s because scooping flour into a cup can compress it, and a lightly packed cup of flour will contain much less than a firmly packed cup.
In a recipe like this one, which uses a large quantity of flour, discrepancies can really add up and result in a dough that is far too dry or too wet.
I also like to use a large, inexpensive plastic pitcher to hold the dough as it rises. Placing it in a mixing bowl allows the dough to expand in every direction, making it hard to visually judge its progress. But using a container with vertical walls makes it easy to tell when the dough has doubled.
Finally, it’s important to remember that professional artisan bakers use ovens that inject steam during baking. This allows the crust to develop more slowly, which lets the dough rise more in the oven. The result is a lighter, bigger, fluffier loaf.
To achieve the right level of humidity, some bakers toss ice cubes into a hot oven or use a shallow pan filled with hot water to steam up their ovens.
In my experience, baking in a pre-heated, covered vessel is the easiest way to get great results. I like to use a clay bread baker or a cast-iron dutch oven, or even a very deep casserole dish with a lid. You just need to make sure that whatever you use is safe at high temperatures and has enough headroom for the dough to expand while baking.
✔️ Ingredients
Bread flour, whole wheat flour, and rye flour
Some rye bread recipes use 100% rye flour, but most do not.
I’ve settled on this ratio of different types of flour after years of experimentation. Bread flour gives the bread a lighter, springier texture, and whole wheat provides a sweet, nutty flavor.
Finally, a substantial amount of rye flour lends its characteristically earthy, spicy notes to the finished bread.
Caraway seeds
For many people, myself included, caraway seeds are the flavor I think of when I think of rye bread. Their citrusy, pungent flavor is distinctive and vibrant.
That said, you may omit the caraway if you do not have it on hand. You could also substitute coriander (in seed or powder form), a traditional ingredient in Russian rye bread.
Blackstrap molasses and salt
Blackstrap molasses and salt are the final two ingredients in this bread, and they provide sweet and savory notes that balance out the hints of natural bitterness in the grains.
I love using blackstrap molasses as a sweetener for the flavor, color, and mineral content. But you could substitute a small amount of sugar or an equal amount of maple syrup if needed.
Instant yeast
Instant yeast is so named because you don’t need to mix it with warm water before use; it’s already ready to go.
I like to buy it in large packages to keep in the freezer for long-term storage.
If you want to use active dry yeast instead, just follow the instructions on the package for mixing it with warm water, and substitute that amount of liquid from the amount of water that you add to the dough.
✏️ Instructions
Combine all ingredients in a large mixing bowl and stir to partially combine.
Use a stand mixer fitted with a hook and knead the doughon level two for 6 – 8 minutes, until the dough pulls away from the sides of the bowl and forms a smooth mass. Alternatively, knead by hand for 12 – 15 minutes, or until the dough forms a smooth ball.
Transfer the dough into a large, lightly oiled container and cover. Place it in a warm spot in your home to rise for about 1.5 hours, or until the dough has doubled in size.
On a lightly floured surface, shape the dough into a round or oblong loaf. Proof, covered, for about 45 minutes. You can either use a proofing basket, a colander lined with a floured kitchen towel, or you can let the dough proof, covered on a lightly floured countertop.
Meanwhile, preheat the oven to 425° F. If you are going to use a bread baker, dutch oven, or pizza stone, place it in the oven to preheat. Carefully remove the bread baker or dutch oven just as the dough finished proofing so that it stays very hot. If you are using a pizza stone, leave it in the oven.
When the dough has fully proofed — it should not spring back immediately if you gently poke the side of the loaf — use a bread lame or sharp knife to slash the top of the loaf a few times (if you are using a dutch oven or bread baker, wait until you have transferred the dough into the baking vessel).
Carefully transfer the dough to the bread baker, dutch oven, pizza stone, or a parchment-lined sheet pan.
Bake for about 50 minutes, or until the dough reaches an internal temperature of 190 – 210. (If you are using a baking vessel that has a cover, like a dutch oven or a cloche, bake covered for 30 minutes, then remove the cover and bake for an additional 20 minutes.)
Remove the bread from the oven and allow it to cool fully before slicing.
🧰 What you’ll need
Note: This section contains affiliate links. I may earn a small commission if you follow the links and make a purchase. This doesn’t cost you anything, and it helps me continue running Bittertreats.
- A large mixing bowl
- Measuring cups and spoons
- Something to bake in (or on): this could be a baking sheet, a pizza stone, a dutch oven, or a clay bread baker
- A tea towel or plastic wrap
- A sharp knife or lame for scoring the bread
These items aren’t strictly necessary, but they’ll make your life easier and your bread more consistent:
- A digital food scale
- A stand mixer with a dough hook
- A food thermometer
- A proofing basket
📖 Recipe

Caraway Rye Bread
This caraway rye bread recipe offers classic flavors in a sturdy loaf that's perfect for sandwich slices.
Ingredients
- 300 grams (1 ¾ cups) bread flour
- 150 grams (1 ¼ cup) whole wheat flour
- 200 grams (2 cups) rye flour
- 420 grams (1 ½ cups) water *
- 10 grams (1 ¾ teaspoons) salt
- 30 grams (1 ½ Tablespoons) blackstrap molasses
- 7 grams (2 Tablespoons) caraway seeds
- 2 teaspoons instant yeast
Instructions
- Combine all ingredients in a large mixing bowl and stir to partially combine.
- Use a stand mixer to knead on level 2 for 6 - 8 minutes, until the dough pulls away from the sides of the bowl and forms a smooth mass. Alternatively, knead by hand for 12 - 15 minutes, or until the dough forms a smooth ball.
- Transfer the dough into a large, lightly oiled container and cover. Place it in a warm spot in your home to rise for about 1.5 hours, or until the dough has doubled in size.
- On a lightly floured surface, shape the dough into a round or oblong loaf. Proof, covered, for about 45 minutes. You can either use a proofing basket, a colander lined with a floured kitchen towel, or you can let the dough proof, covered on a lightly floured countertop.
- Meanwhile, preheat the oven to 425° F. If you are going to use a bread baker, dutch oven, or pizza stone, place it in the oven to preheat. Carefully remove the bread baker or dutch oven just as the dough finished proofing so that it stays very hot. If you are using a pizza stone, leave it in the oven.
- When the dough has fully proofed — it should not spring back immediately if you gently poke the side of the loaf — use a bread lame or sharp knife to slash the top of the loaf a few times (if you are using a dutch oven or bread baker, wait until you have transferred the dough into the baking vessel).
- Carefully transfer the dough to the bread baker, dutch oven, pizza stone, or a parchment-lined sheet pan.
- Bake for about 50 minutes, or until the dough reaches an internal temperature of 190 - 210. (If you are using a baking vessel that has a cover, like a dutch oven or a cloche, bake covered for 30 minutes, then remove the cover and bake for an additional 20 minutes.)
- Remove the bread from the oven and allow it to cool fully before slicing.
Notes
You may be tempted to slice the loaf when it is hot out of the oven. But don't do it! If you slice the bread before it is completely cool, it will be gummy in the middle.
Use a scale to get precise measurements in grams. I've provided measurements for cups and spoons are estimates only.
You may substitute other liquids for all or part of the water. I've used coffee, beer, or the liquid drained from homemade greek-style yogurt.
Nutrition Information
Yield 12Amount Per Serving Calories 200Total Fat .8gSaturated Fat .1gSodium 323mgCarbohydrates 41.1gFiber 6.7gSugar 1.8gProtein 7.6g


Leave a Reply